
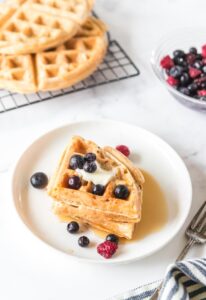
Homemade Yeast Donuts
Homemade yeast donuts are perfectly warm and soft from the fryer–the stuff dreams are made of, ya know? I know you do your best to get them warm (when the Krispy Kreme light is on) but here’s what you need to know to make yeast donuts with chocolate or vanilla glaze from scratch right in your own kitchen.
Jump to Recipe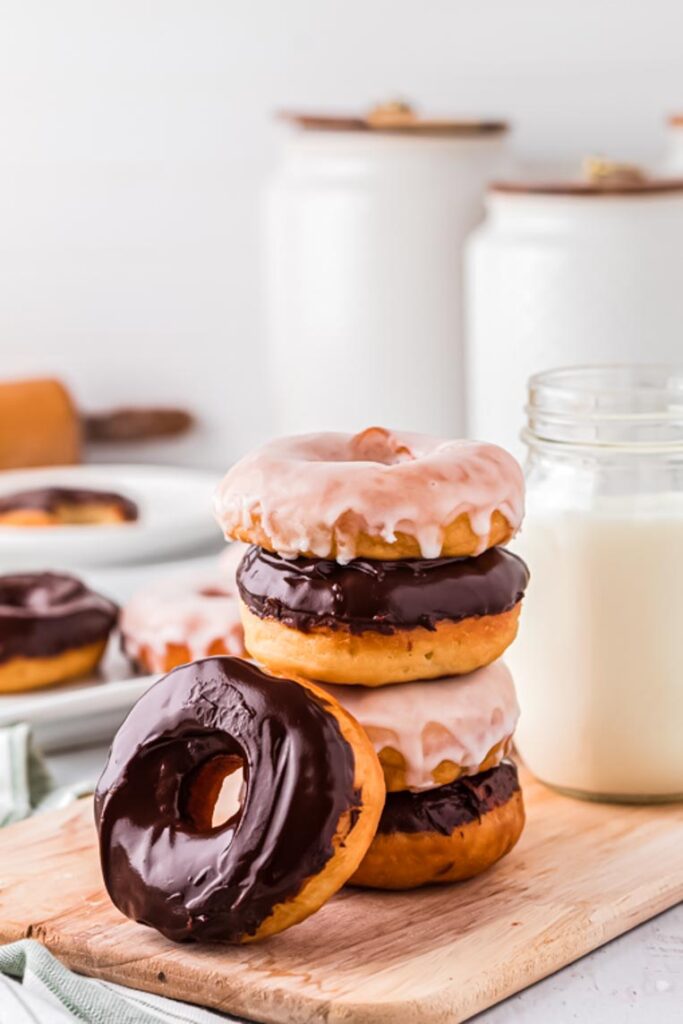
I am a donut-a-holic. It’s something that I don’t allow myself very often though. Mostly it’s because if I eat too many, in an hour or two I can’t remember my name and I’m so sleepy all I want to do is doze off.
Hello carbohydrate coma.
But when I do want one (or four), the only proven way to get a good, yeasty donut is from a bakery. That’s thirty minutes away for me, and I’ve never been able to replicate a bakery style donut at home until this yeast donut recipe right here. It will change everything!
How to store homemade donuts
Homemade donuts will store in an air tight container for up to two days. They won’t last nearly as long as a store bought one because they don’t have all the dough conditioners, stabilizers and preservatives that most factory made ones do. They are best eaten the same day.
Can I freeze donuts?
Yes! Leave off any glazes and freeze the donuts uncovered in a single layer on a cookie sheet, then transfer them to an airtight container for up to 2 months. Rewarm them at room temperature or you can wrap them in foil and put them in the oven at 300 until just warmed through. About 10-12 minutes or so if they are frozen solid.
My donuts are tough. Why?
Because you kneaded or handled (or plain old fiddled) with the dough too much. Working with wheat flour builds the gluten strands inside the dough which are responsible for giving your dough strength and structure. When you work with the dough more than necessary, you build up the gluten too much and end up with tough or chewy donuts. If yours are chewy, try again another day! You’ll do a better job.
What kind of glaze is best for homemade donuts?
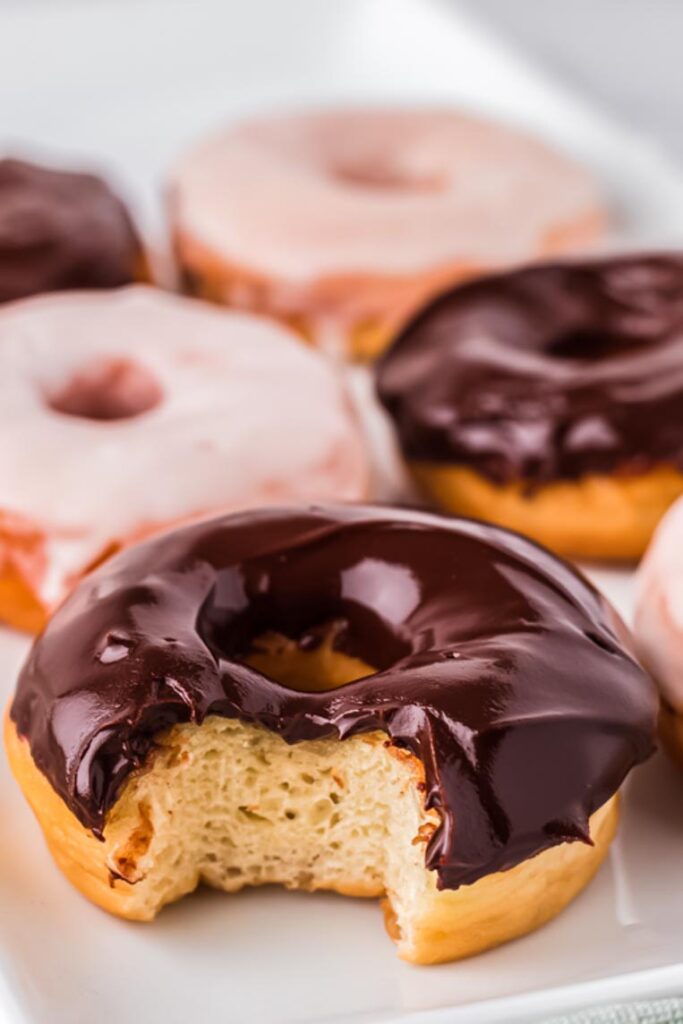
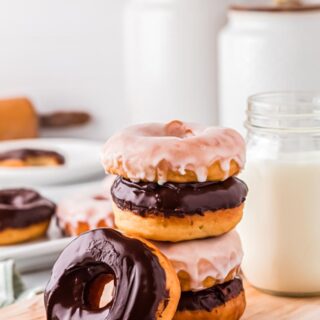
I glazed these in homemade chocolate sauce and a classic vanilla you can whip up in no time. You can also check out this post for 5 glaze recipes, too!
Need help working with yeast? Check out my 3 easy tips for activating it here.
Homemade Yeast Donuts
Ingredients
- 3 1/4 cups all purpose flour
- 1 teaspoon salt
- 2 tablespoons sugar
- 2 packages rapid rise/instant yeast
- 1/4 cup butter
- 1 cup milk
- 3 egg yolks
- refined coconut oil for frying canola or vegetable oil works too, about 4 cups (2" deep) depending on the depth of your pot
FOR THE CHOCOLATE GLAZE
- 3/4 cup semi sweet chocolate chips
- 3 tablespoons butter
FOR THE VANILLA GLAZE
- 2 cups powdered sugar
- 1 teaspoon vanilla
- 1/4 cup milk
Instructions
- In a large bowl, mix 2 cups of the flour, salt, sugar, and yeast.
- Place the butter and milk in a glass measuring cup and warm it in the microwave until it's hotter than lukewarm but not so hot you can't stick your finger in it and keep it there for a second or two. (110 degrees) The butter should melt most of the way.
- While stirring, add the milk and butter and then the three egg yolks to the flour mixture. Add the remaining cup of flour until a soft dough forms.
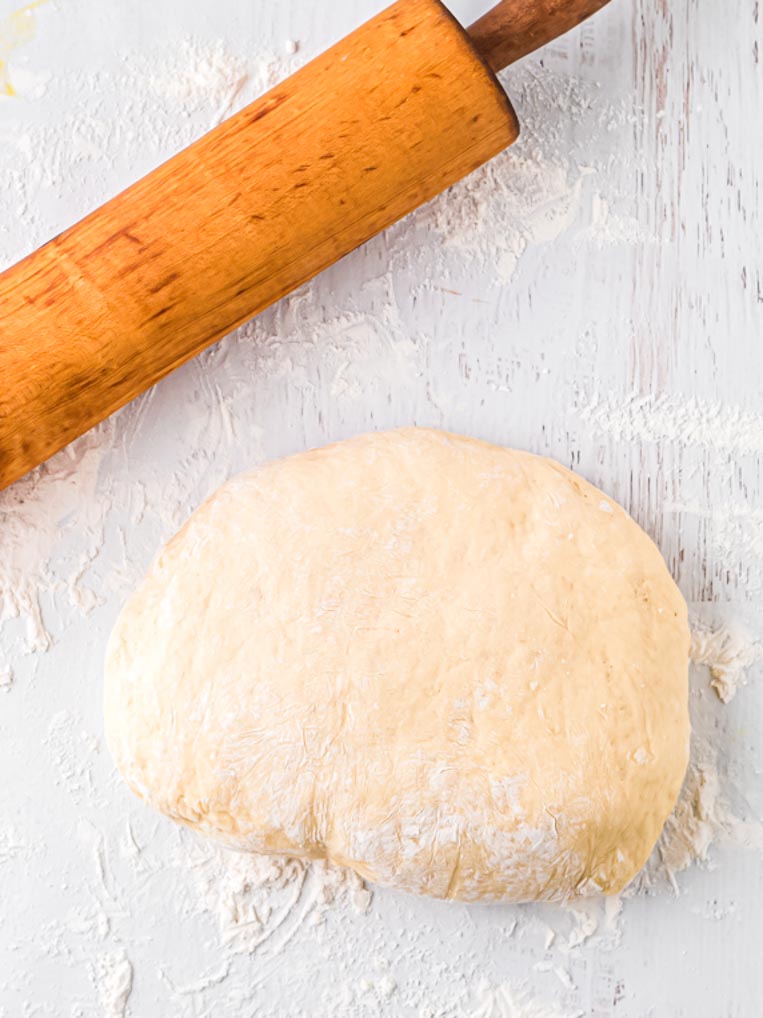
- Place the dough on a floured counter and knead for 4 to 6 minutes until it's really smooth and stretchy. Cover it with plastic wrap and let it sit on the counter for about 15 minutes.
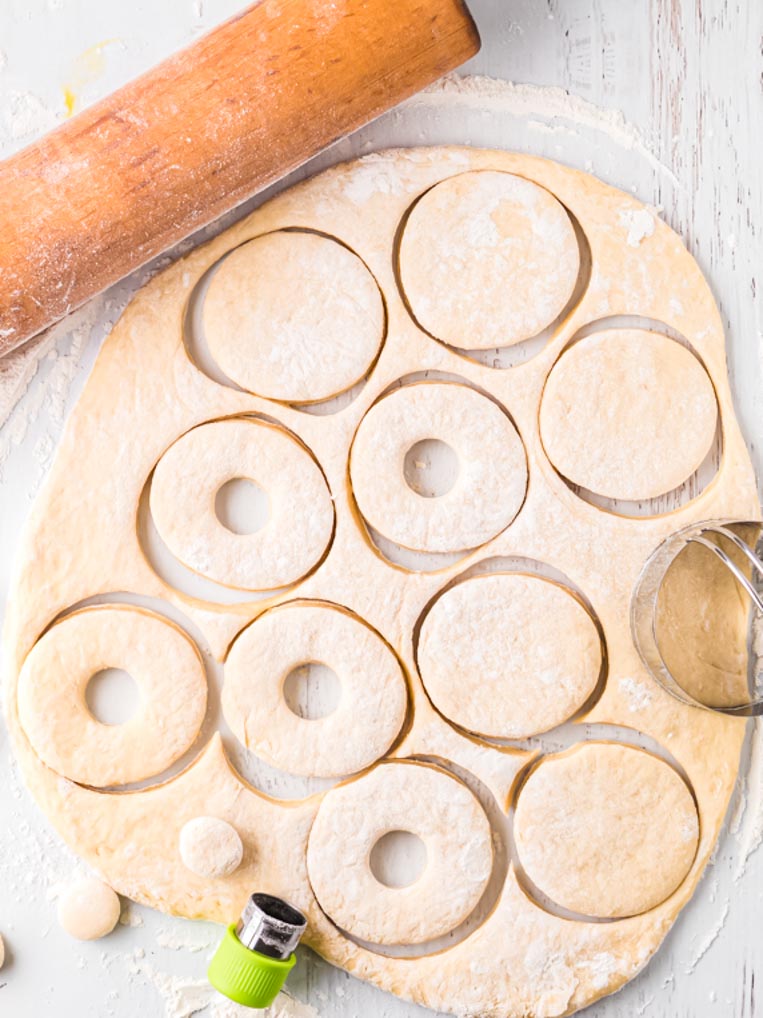
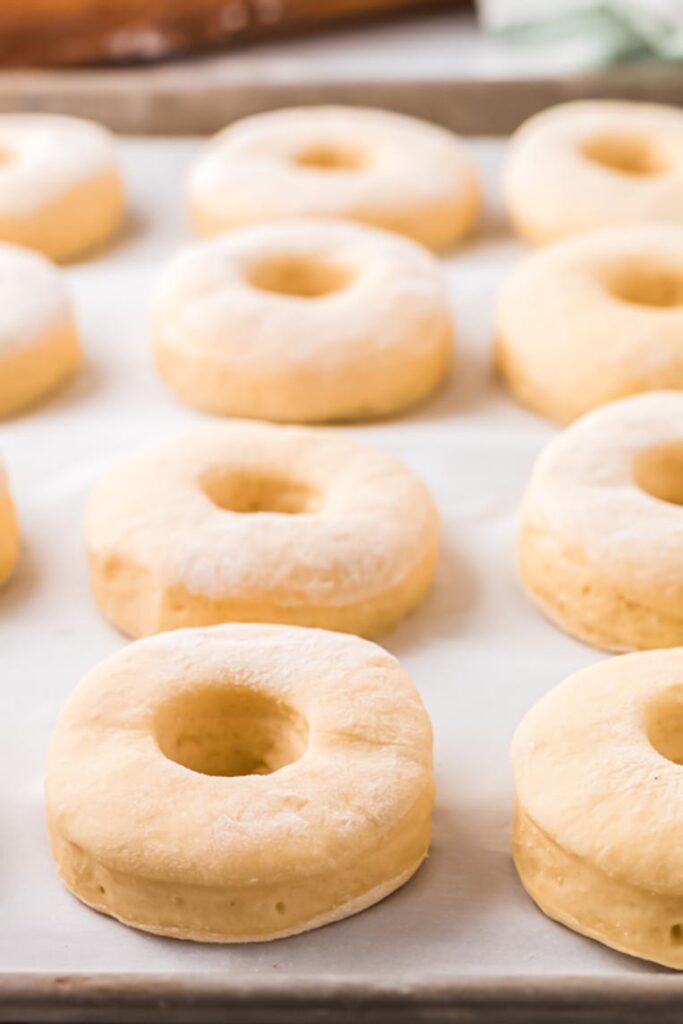
- After 15 minutes, roll 1/2-inch thick. Using a 3-inch biscuit cutter or the open end of glass, cut out circles. To cut the center circles, I used a marker lid! Medicine caps work pretty well too if your donuts are big.
- Place your circles on a pan to rise. Cover them with lightly greased plastic wrap and let them sit in a place that's close to 80 degrees for an hour.
- After an hour, heat your oil. You'll need about 2 inches of oil. Use a thermometer if you need to and heat the oil to 350 degrees. If you don't have a thermometer, you can expect your oil to take 8 minutes or more to get hot. I always sacrifice one donut to oil testing. If the oil's too cool, he won't fry. Just dip the edge in--if he sits there, the oil's too cool. If he sits there and starts to fry after a second or two, the oil is still too cool. Just wait another minute or three and try again with the same sacrificed donut. Poor little guy.
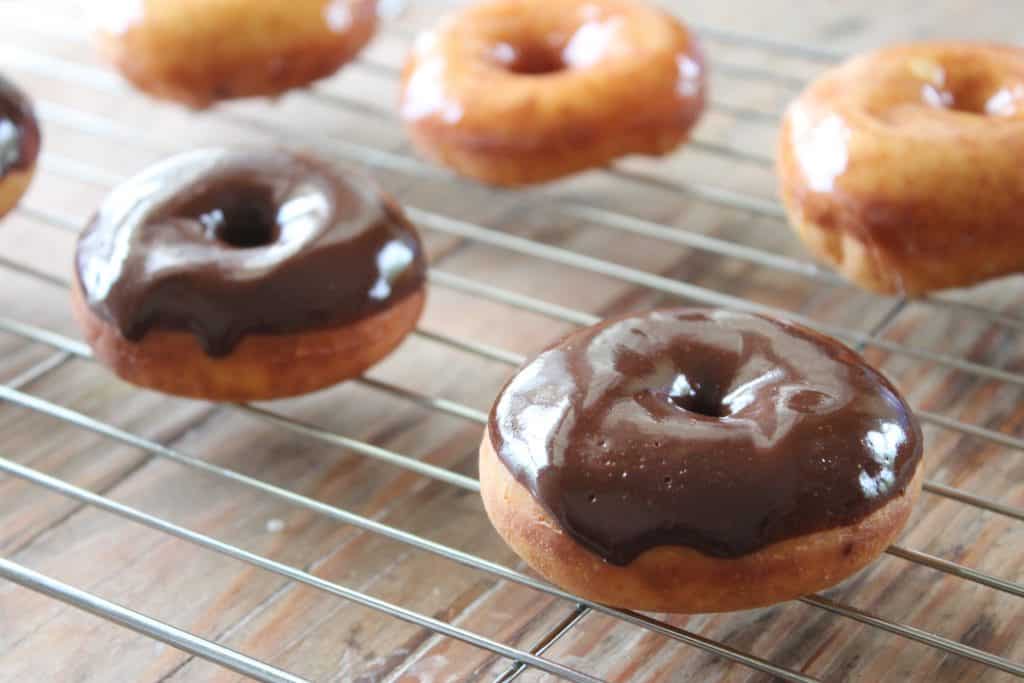
- When you put him in and he immediately bubbles, throw that donut away and drop in your real ones. Only do three or four at a time. They will fry about 2 minutes on one side, then turn them and fry another one to two minutes on the other. They cook really fast. DON'T WALK AWAY. Turn your heat down to medium after the first batch.
TO MAKE THE GLAZES
- Put the chocolate and butter in a microwave safe bowl. Microwave in 30 second intervals until everything is melted and smooth. Dip the donuts in while they are warm.
- For the traditional glaze, mix the powdered sugar, vanilla and milk with a whisk until smooth. Dip the donuts while they are warm.

I give it a four star rating. Not as airy as l was wanting. Flavor was a solid four as well.
Great thanks!
Mmmm your donuts look AMAZING!!!! What a great way to make them! They sound absolutely delicious!!!
Thank you Maria. They really are the best I’ve ever had and the closest to a bakery’s squishy-soft one I’ve ever made. This recipe was adapted from a cinnamon one and it’s really versatile. Make some and send me over the pictures!